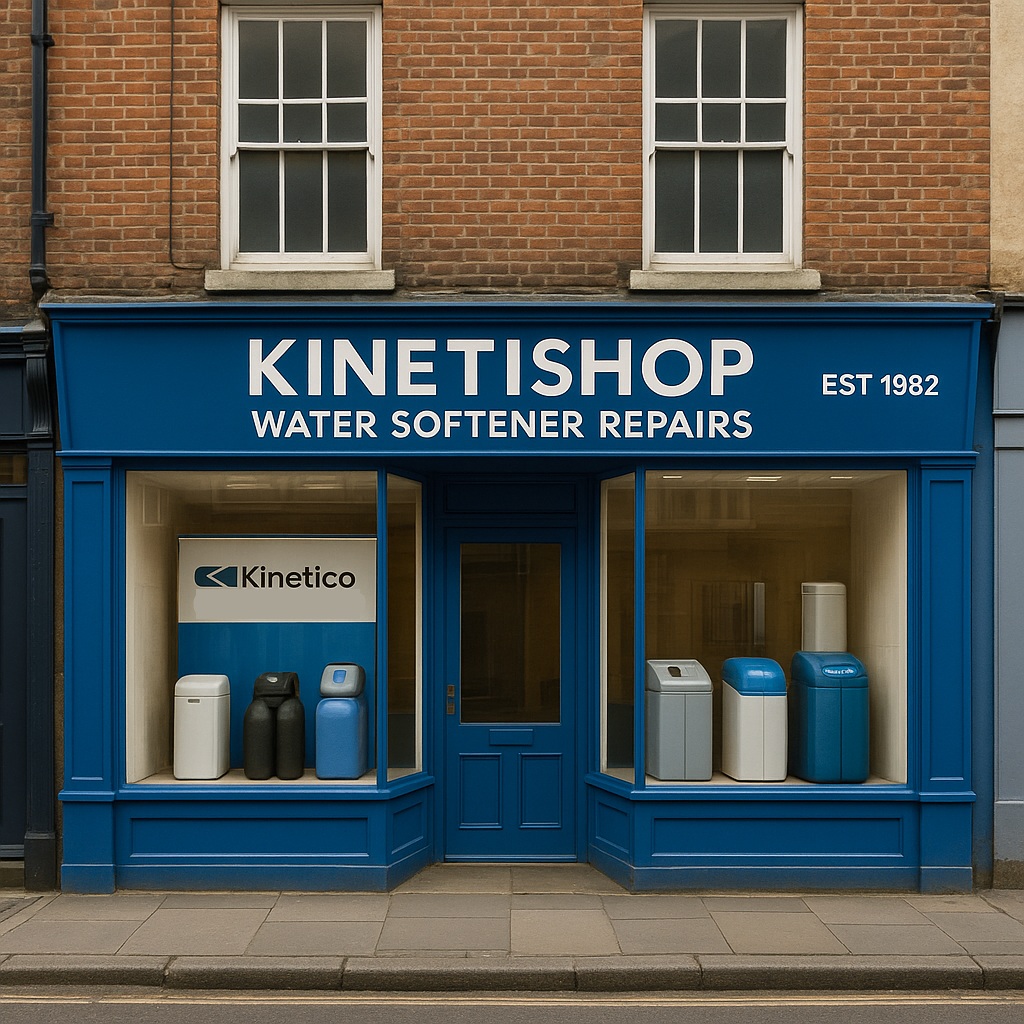
“Save Money – Kinetico Servicing & Repairs”
Kinetico Water Softener Service & Repairs
” Fix or Service Your Own Kinetico in Around Two Hours “
Are You Practical – Do You Service or Repair Things?
-
Most of our customers are in the U.S. and they are often keen to repair things themselves.
- If you’re comfortable taking things apart carefully, keeping track of small parts, and following steps, you’ll be right at home.
- You don’t need to be an engineer, just practical and patient.
- If you’re happy doing household repairs (taps, toilets, small appliances) and can work methodically, this will work.
Why this works
We’ve spent 40+ years working on Kinetico valves.
- Start with our service kit: it’s the recognised full service. Kinetico use the same system themselves.
- Most faults are seal wear: replacing seals solves issues 99% of the time.
- Kinetico don’t supply parts to the public; so we manufacture compatible seal kits independently.
- You can save money: a dealer visit can run $800 – $2,000.
- Replacing the seal kit brings your softener back to life most of the time.


💧 Welcome to our Kinetico world
We’ve helped thousands of owners over four decades. We hope to help you. We lived and breathed these amazing water softeners, they are the best we believe. Keep yours working great. We take great pleasure in knowing our customers saved a little money in the process.
Quick troubleshooting guide
Most faults shown here are very rare
Remember: 99% of faults are worn seals
1) Water meter disc is not turning
- Non-conforming meter drive pawl
- Meter drive spring installed incorrectly
- No-back pawl not installed
- Damaged tooth on meter disc
- Damaged gear in the gearing stack
Fix: Replace pawl; reinstall meter drive spring; fit no-back pawl; replace meter disc; re-gear Level 1 assembly and verify allowable flow rates.
2) The unit will not go into automatic regeneration
- Water meter disc not turning (see #1)
- Control disc will not automatically advance out of service (mechanical failure)
- Damaged teeth on control disc
Fix: Resolve #1; replace regeneration start pawl; replace control disc.
3) No vacuum in brine position
- Check stems missing or malfunctioning
- Plugged venturi
- Plugged backwash flow control
- Plugged brine elbow screen
Fix: Replace/add check stems; clean Level 3 venturi throat & moulded venturi nozzle (no sharp tools); clean backwash flow control; clean brine elbow screen.
4) Short salting
Cause: Brine drum not level. Fix: Level the brine drum so water sits evenly above the grid.
5) Bridged salt in the brine drum
Cause: Salt has solidified. Fix: Carefully break up the bridge and loosen the salt.
6) Bypass issues
Bypass is open: Water flows untreated. Fix: Close the bypass.
Bypass is leaking: Untreated water mixes through. Fix: Repair or replace bypass; confirm via hardness tests at different points.
7) Brine drum does not refill or overfills
- Brine valve set incorrectly or faulty
- Dirty brine drum
- Plugged venturi nozzle
- Plugged brine elbow screen
Fix: Set/replace brine valve; clean brine drum; clean Level 3 venturi throat & nozzle; clean brine elbow screen.
8) Frequent regeneration
- Unfamiliar with usage-based control → explain how the meter triggers regeneration
- High water usage → confirm with bills/usage vs average
- Incorrect meter disc → verify and install the correct disc
9) High salt consumption
- Regenerates too frequently → see #8
- High water level in brine drum → adjust/replace brine valve; clean drum
10) Salty treated water
- Restricted drain line → clear kinks/clogs
- Low water pressure → raise to ≥15 psi; replace clogged prefilter cartridges
- Plugged backwash flow control → clean
- Long/elevated drain line → shorten or increase diameter
- Plugged upper distributors (not HE) → clean; consider adding a prefilter
- High brine level → verify/replace brine valve
11) Iron bleed-through
- Existing iron in plumbing → test at brine fitting; if soft there but hard at taps, address plumbing
- Meter disc settings wrong for current raw water → reassess hardness/iron; fit correct disc
- Improper salt/brine settings → adjust brine valve
- Ferric iron present → ion exchange won’t remove; trial with demo softener; may need extra equipment
- Galvanized pressure tank causing oxidation → replace with a bladder-style pressure tank
12) Pressure loss
Reduced inlet pressure from a clogged prefilter → replace prefilter.
Plugged distributors (foreign material) → clean distributors; add a prefilter to prevent recurrence.
13) Water running to drain
- Balance piston O-ring not seated → depress actuator to seat; replace if worn
- Control disc scored/damaged → replace
- Drain/control valve seals not seating (debris) → disassemble & clean
- Low water pressure → raise to spec
- Faulty quad-rings → replace & lubricate; check seals are EPDM chlorine-resistant seals
14) Taste, colour & odour
- Metallic/iron taste → see “Iron bleed-through” (#11)
- Chlorine odour/taste → install a carbon filter
- Salty taste → high TDS/residual salt → consider a drinking water/RO system
- Yellow tint → tannins → a tannin-specific softener
- Odour in hot water only → reaction with magnesium anode rod → remove/replace with alternative
15) Leaks
- Between assembly levels → tighten screws; replace seals; replace cracked parts
- Excessive pressure (>125 psi) → install/replace a pressure regulator
- Main or remote base → tighten base; replace O-ring
16) Equipment noise
- Squealing (disc not flat → valve flutter) → replace control disc, balance piston spring & O-ring; consider drain valves/seals
- Gurgling/hissing/bubbling → run a full cycle to purge air; fix plumbing air leaks; check brine line & air checks
17) Unit sticks in cycle
Sticks in regeneration or backwash: plugged flow paths; faulty pawl/disc; worn pinion; low pressure; plugged bed → clean paths; replace pawls/discs; replace pinion; raise pressure; re-bed if needed.
Sticks in service: broken/missing regeneration start pawl or damaged control disc → replace pawl/disc.
What You Get With Us
Clear instructions, friendly support, and a complete solution that saves you hundreds. You get all the essential seals, video tutorials to do the job.

We Send You Dip Test Strips
Quick, easy checks for water hardness before and after repair — gives instant feedback that your system is softening correctly.

We Send You our Superb Engineer’s Repair Guide
The 109-page illustrated service guide used by engineers — clear diagrams, step-by-step photos, and insider tips.

We Send You Our Full Rebuild Kit
Here is Just an example of the seal kit – four sided quad seals.
High-grade EPDM seals manufactured by us — chlorine-resistant, precision-moulded, and compatible with ALL Kinetico Water Softener Models

We Send You Over 2 Hours of Video Tutorials
We Also Include Video Screen Shots in Our Engineers Guide
Watch Our Engineer Fit Our Own Seal Kit in Real Time
We Send You Video Work Though – Resin Change Video

We Send You Videos in Full Colour – Most High Definition – Some Shown Here
Royal Mail Shipping

What our buyers say

Our pledge: Ask us a question. If we think a fix needs more than seals, we’ll say so.
Engineer’s Repair Guide (109 pages)
Step-by-step video packs ( Over 2 Hours)


